Not so granny placemat
A modern textured crochet pattern
Hi everyone!
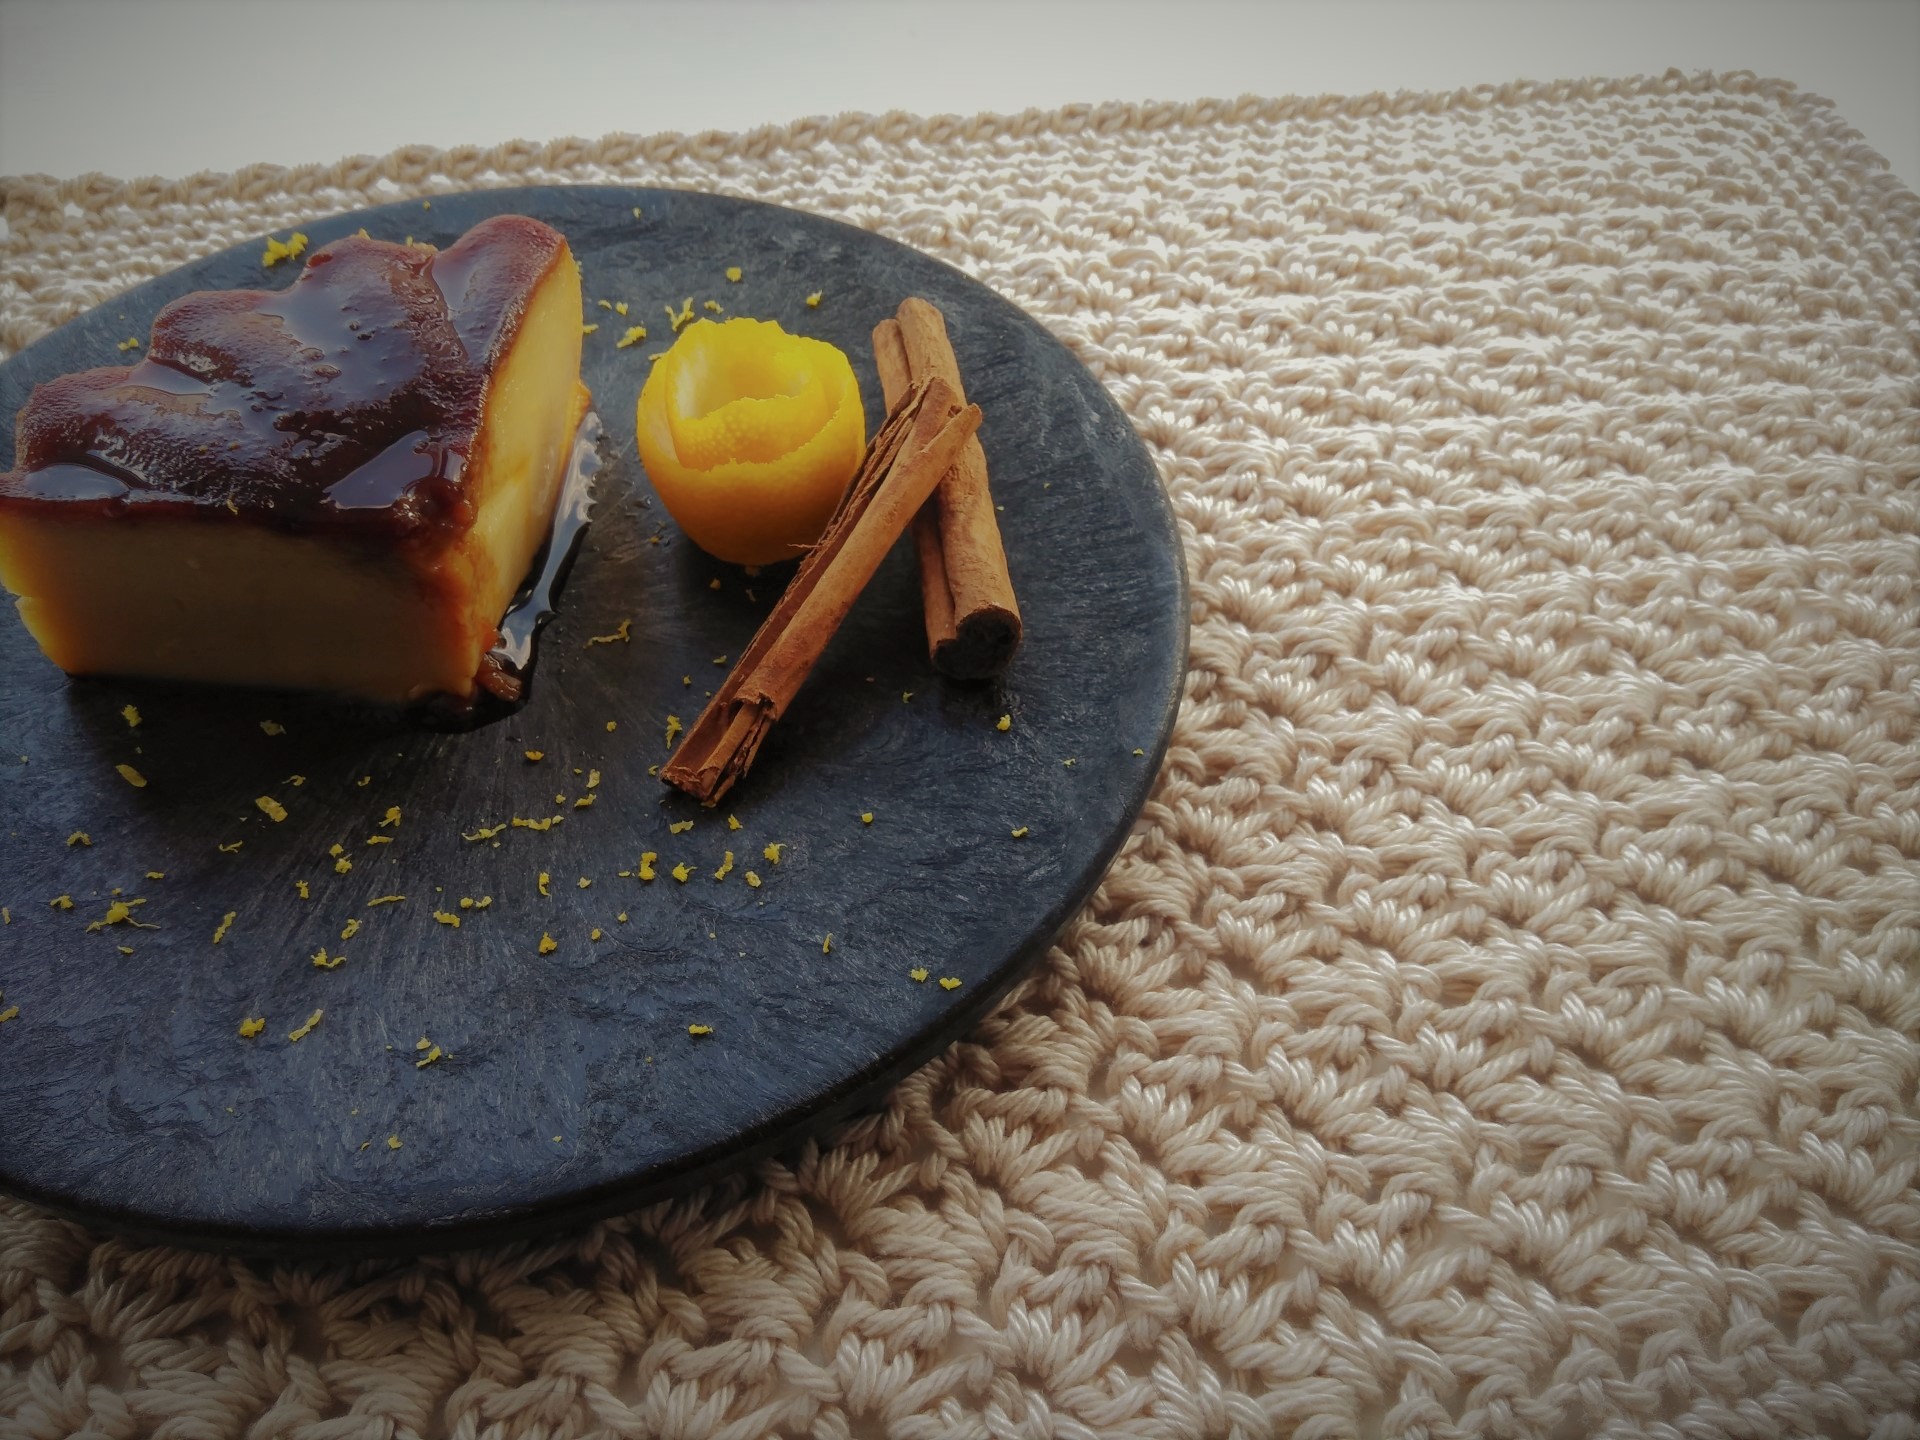
Today I bring you a new design, is a placemat but can be used with other crochet works as it is so easy to make and the texture is wonderfully beautiful. I love it!
I decided to make this placemat to show you an example of how to make the Suzette stitch, the star of this design. If you adapt the number of chains to make it longer or shorter, you can use this stitch in many imaginable ways. You just need to make an even number of chains for that. How nice is it, right?
Please, read the notes carefully before jumping into the pattern.
Happy crocheting and enjoy your new placemat! 🙂
(Some of the links in this post are affiliate links. This means if you click on the link and purchase the item, I will receive an affiliate commission at no extra cost to you.)
Materials list:
- Yarn and Colors Super Must Have or double-strand Sport weight yarn to provide thickness.
- Colours:
003 – Ecru - Crochet hook 9.00mm
- Stitch marker (optional)
- Scissors
- Tapestry needle
Difficulty level: Easy
Finished size: 18″x13″
Stitch guide and abbreviations – US terms
Chain(s) – Ch(s)
Double Crochet – Dc
First – 1st
Single crochet – Sc
Slip stitch – Sl st
Skip – Sk
Stitch(es) – St(s)
Reverse Single Crochet or Crab Stitch – Rsc
Important notes
- […] – If you see this parenthesis, make the combination of stitches in the same stitch space.
- Place a stitch marker in the second Sc made in each corner of the border, to locate where you need to repeat the 3 Sc to form the corner.
- Do not join at the end of the row of the border, continue working the stitches until the desired size.
Special stitches:
Reverse Single Crochet or Crab Stitch – Rsc – As the name shows, this is single crochet worked on the opposite direction than usual – attach yarn if required, ch 1, * insert hook into the next st on the right if you are right-handed (left st for lefties), yo, draw up a loop, yo, draw through both loops on hook; repeat from * across.
Instructions:
The Suzette stitch will be done during the next 24 rows.
Make 38 Chs. Turn.
Row 1 – [1 Sc, 1 Dc] in the second Ch from the hook, * Sk 1, [1 Sc, 1 Dc] in the next Ch. Repeat from * until reaching the last 2 Chs, Sk 1, Sc in the last Ch. Ch 1, turn. – 37 Sts
Row 2 – [1 Sc, 1 Dc] in the 1st st, * Sk 1, [1 Sc, 1 Dc] in the next st. Repeat from * until reaching the last 2 sts, Sk 1, Sc in the last st. Ch 1, turn. – 37 Sts
Row 3 until 24 – Repeat row 2 but do not turn at the end of the last row. – 37 Sts
Border:
At the end of Row 24, instead of turning the work, start working around the pattern, through the edges and corners. Make, 3 SC on each corner and 1 Sc on each space/stitch across. I made a total of 5 rows with Sc. Sl st at the end of the final st, on top of the next Sc in the row. Do not fasten off.
Make one row of 1 Rsc on each st across and 1 Sl st at the end of the row to join.
Fasten off and weave in the ends.
See you next time!
Xoxo,
Mari

