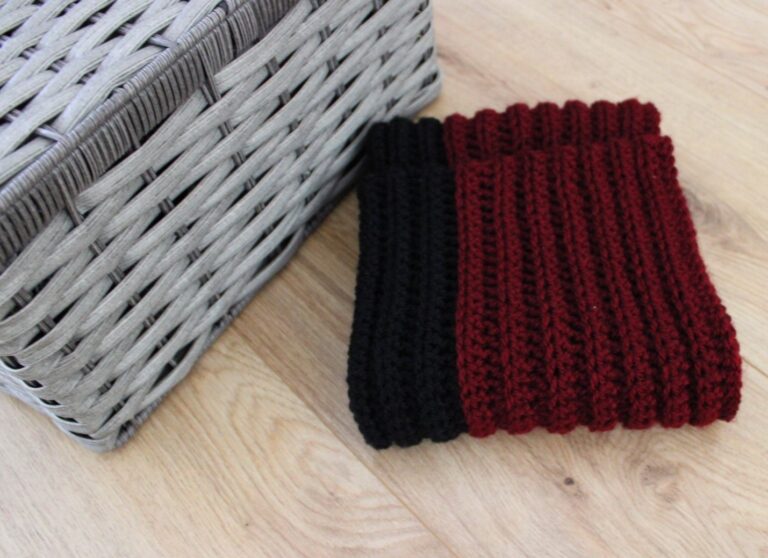
Exfoliant Soap saver
Once in a while, I replace the shower gel full of plastic for a natural soap, but I was missing a soap saver so I decided to make one, ending up with two versions of the same. Now that I have these beauties, I will start using natural soap more often!
Made with recycled cotton, more than a soap saver, it can be used as a soft exfoliating glove.
To make this soap bag, you will need to know how to make the chain, single crochet and double crochet.
Materials list:
Sirdar Simply Recycled (any cotton with recommended hook size 4.00 mm is suitable)
Hooks: 4.5 mm
Stitch markers – optional
Scissors
Tapestry needle
Finished size: 5.12″x 3.15″ (13×8 cm)
Difficulty level: Easy
Stitch guide and abbreviations – US terms
Chain – Ch
V stitch – V-st
Single crochet – Sc
Double crochet – Dc
Stitch(es) – St(s)
Making the V-st: in the same space: dc, ch 1, dc.
Important notes
– Turning ch 3 counts as a stitch.
– Turning ch 1 does not count as a stitch.
– Make two panels that will be sewed together.
– Leave long tails if you choose to sew the panels.
– Alternative ways to make the pattern and finishing it:
If you want it smaller, just make less rows until the desired finished size.
Instead of beginning with 12 + 4 chains, begin with 27 + 4 chains and fold it in half, sewing one size and the bottom. Total of 4 V-sts on each side, 1 V-st in the folded side and ch3/dc on the seaming side. Total of 29 sc on rows 4, 5, 9 and 10.
Instead of sewing the panels, make a border with single crochet through the edges. Make 1 single crochet when you find a single crochet edge and 2 single crochet when you find a double crochet edge, adding 2 extra sts on each corner of the bottom.
Instead of using a 4.5 mm, you can use a 4.0 mm hook and finish with a border of single crochet as explained above.
Pattern:
Ch 12 + 4
Row 1 – V-st in the back loop of the 5th ch from hook, *sk 2, V-st. Repeat from * 2 more times, sk 1, dc in last ch. Ch 3, turn. Total of 4 V-st.
Row 2 – V-st around every ch space from V-st of previous row, dc on top of ch 3 at the end of the row. Ch 3, turn.
Row 3 – V-st around every ch space from V-st of previous row, dc on top of ch 3 at the end of the row. Ch 1, turn.
Row 4 – 1 sc in every st across, sc on top of ch 3 at the end of the row. Ch 1, turn. Total of 14 sts.
Row 5 – 1 sc in every st across. Ch 3, turn. Total of 14 sts.
Row 6 – Sk 1, V-st, *sk 2, V-st*. Repeat from * 2 more times, sk 1, dc in last st. Ch 3, turn.
Row 7 – V-st around every ch space from V-st of previous row, dc on top of ch 3 at the end of the row. Ch 3, turn.
Row 8 – V-st around every ch space from V-st of previous row, dc on top of ch 3 at the end of the row. Ch 1, turn.
Row 9 – 1 sc in every st across, sc on top of ch 3 at the end of the row. Ch 1, turn. Total of 14 sts.
Row 10 – 1 sc in every st across. Ch 3, turn. Total of 14 sts.
Row 11 – Sk 1, V-st, *sk 2, V-st*. Repeat from * 2 more times, sk 1, dc in last st. Ch 3, turn.
Row 12 – V-st around every ch space from V-st of previous row, dc on top of ch 3 at the end of the row. Ch 3, turn.
Row 13 – V-st around every ch space from V-st of previous row, dc on top of ch 3 at the end of the row. Ch 3, turn.
Row 14 – Dc in every st across.
Fasten off.
Block both panels (optional)
Sew panels together in the sides and the bottom, making sure that dc is at the top of the fabric, or join both panels with a single crochet stitch across.
Making the drawstring:
Cut 3 pieces of yarn, long enough to make one braid, finish with knots and leaving the tails as a tassel. The string I made is around 15″ (38cm) long. As an alternative for the string, you can make a string with chains.
Insert one half of the string from the outside in, through the stitch space next to the joined part, insert the other half of the string in the other side of the bag, through the stitch space next to the joined part.
Weave the string through the dc, leaving one dc behind the string and one dc in the front, alternating between them.
When the string is long enough, make a knot or two with both ends of the string.
And we’re done! Enjoy your new exfoliant and share some photos using @my_indy_craft to identify me. 🙂


